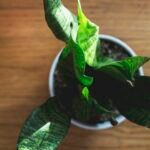
Introduction to Snake Plants and Repotting
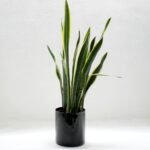
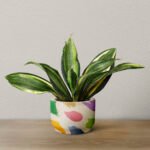
Snake plants, scientifically known as Sansevieria, are popular houseplants valued for their striking appearance and resilient nature. These plants are characterized by their long, upright leaves that often feature variegated patterns of green and gray. Snake plants are renowned for their ability to thrive in a variety of conditions, making them an excellent choice for both novice and experienced gardeners. They are well-suited to indoor environments due to their low light requirements and minimal watering needs, contributing to their reputation as a hardy and forgiving plant.
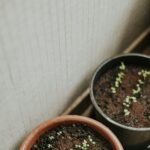
Repotting snake plants is an essential aspect of maintaining their health and promoting growth. Over time, snake plants can become root-bound, a condition where the roots intertwine tightly within the pot, limiting their access to nutrients and water. Signs of root-bound conditions often include stunted growth, yellowing leaves, and visible roots protruding from the drainage holes of the pot. In addition to root-bound issues, the depletion of soil nutrients can also prompt a need for repotting. The original potting soil may lose its effectiveness, leading to diminished health and vitality in the plant. Recognizing these signs is crucial for ensuring the longevity of your snake plant.
When undertaking the repotting process, one primary concern should be the safety of the roots. Snake plants possess fragile roots that can be easily damaged if not handled carefully. The goal of repotting is to provide fresh soil and ample space for growth while minimizing root disturbance. By understanding the nature of snake plants and recognizing the signs that indicate a need for repotting, gardeners can take proactive steps to ensure that their plants continue to thrive in a healthy environment.
Preparing for Repotting: Tools and Materials
Before embarking on the task of repotting your snake plant, it is essential to gather the appropriate tools and materials. Proper preparation plays a crucial role in ensuring the health of the plant and minimizing any potential damage to its roots during the transplanting process.
The first item on your list should be the new pot. Choose a container that is slightly larger than the current one to accommodate the growth of your snake plant. A pot made from materials such as terracotta or ceramic is often recommended, as these options provide excellent aeration. It is vital that the pot has drainage holes; this ensures that excess water can escape, preventing root rot, which is a common issue with snake plants.
Next, you will need potting soil that meets the specific needs of your snake plant. A well-draining potting mix is necessary, as snake plants thrive in conditions where the soil does not retain excessive moisture. Consider using a combination of cactus potting mix and perlite or sand to enhance drainage capabilities, ensuring the roots remain healthy.
In addition to pots and soil, having the right tools is equally important. A pair of gloves protects your hands from dirt and potential irritants while handling the plant. Pruning shears can be handy for trimming any damaged or dead roots, promoting healthier growth post-repotting. A trowel is also useful for transferring soil into the new pot while minimizing mess.
By preparing these tools and materials ahead of time, you create an organized and efficient environment for repotting. This readiness not only streamlines the process but also promotes a smoother transition for your snake plant, facilitating a rapid adjustment to its new home.
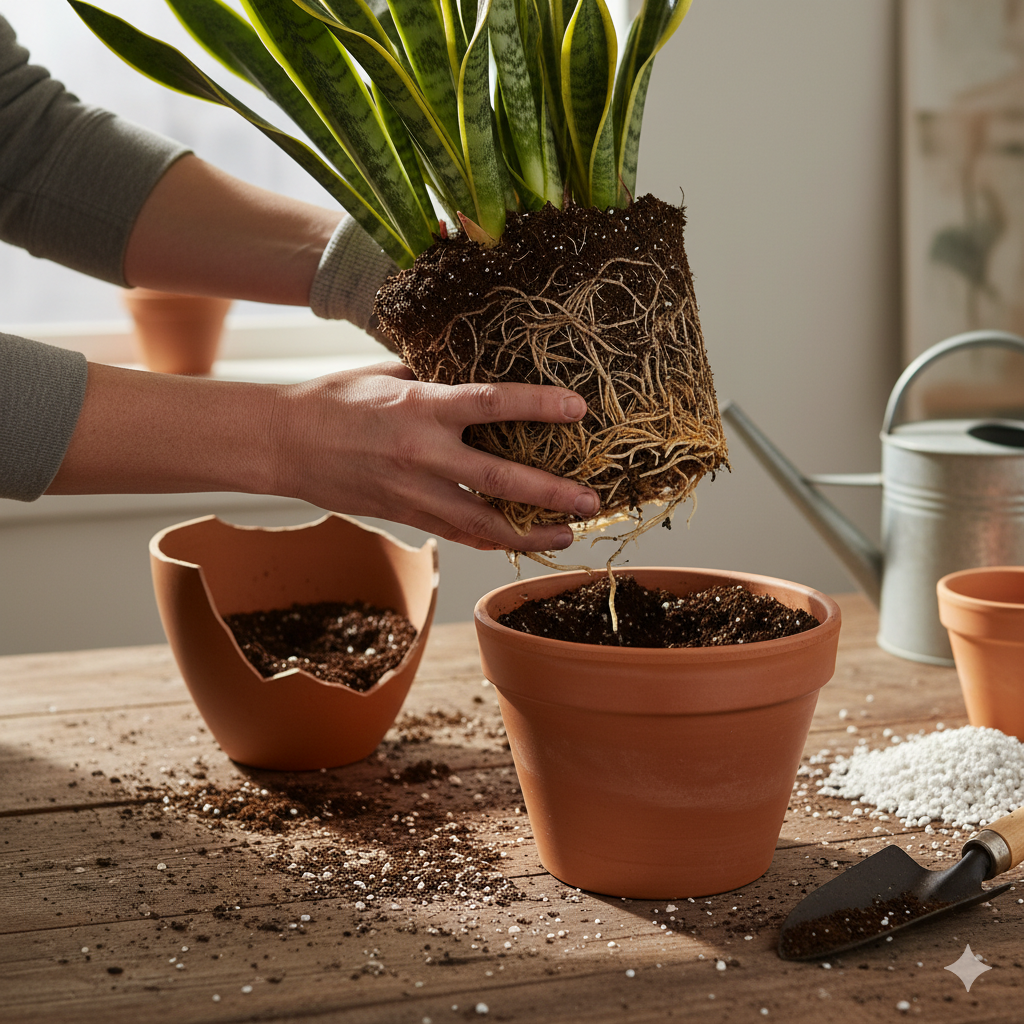
Step-by-Step Guide to Repotting a Snake Plant Safely
Repotting a snake plant requires careful planning and precise execution to ensure the health of the plant. Begin by selecting a new pot, ideally one that is one size larger than the current pot, with proper drainage holes to promote airflow and prevent root rot. It is crucial to use a well-draining potting mix formulated for succulents or cacti, as snake plants prefer a drier environment.
To begin the repotting process, gently remove the snake plant from its current pot. This can be accomplished by placing your hand over the soil surface and tipping the pot sideways. Lightly squeeze the pot as you pull the plant free, being cautious not to tug too forcefully to avoid causing damage to the roots. If the plant does not come out easily, a gentle shake may help loosen it from the sides of the pot.
Once the plant is free, assess the root system for any signs of rot or decay. Healthy roots will appear firm and white, while unhealthy roots may be brown or mushy. If you identify any damaged roots, use clean, sharp scissors to trim away the affected areas, taking care to sanitize the tool between cuts to prevent the spread of disease. This step is essential for the overall health of the snake plant.
Next, gently loosen any tightly bound roots by working with your fingers to separate them. Be careful during this process, as snake plant roots can be delicate. After the roots are adequately prepared, it is time to place the plant in the new pot. Add a layer of fresh potting mix to the bottom of the new pot, position the plant, and then fill in around the sides with additional mix, ensuring the roots are adequately covered while maintaining the plant at the same depth as it grew in its previous pot.
After repotting, water the snake plant lightly, allowing excess moisture to drain out. Place the plant in a warm, indirect light location to encourage recovery and growth. Following this careful process minimizes the risk of root damage, promoting a healthy transition for your snake plant.
Post-Repotting Care and Maintenance Tips
Following the repotting of a snake plant, it is crucial to provide the appropriate care and maintenance to help it recover from the stress of relocation. One of the primary considerations is watering practices. Immediately after repotting, it is advisable to wait at least a week before watering. This period allows the roots to acclimate to the new soil environment and reduces the risk of root rot, which can occur if excess moisture is present. When resuming watering, it is important to ensure that the soil is allowed to dry out thoroughly between watering sessions. Snake plants are known for their ability to store water, and overwatering can be detrimental to their health.
Light conditions post-repotting also play a significant role in the snake plant’s recovery. Ideally, the plant should be placed in a location that receives indirect sunlight. Direct sunlight can stress the plant further and may cause leaf scorch or damage. If necessary, adjusting its location gradually helps the plant adapt without causing shock. Monitoring the light exposure is vital since insufficient light can hinder growth, while excessive light may lead to undesirable complications.
Moreover, during the recovery phase, observation is key. Regularly monitor the plant for signs of distress, such as yellowing leaves or wilting, which can indicate overwatering or other issues. In addition, ensure that good airflow circulates around the plant to prevent fungal infections, which may arise in overly humid environments. Addressing these common problems promptly can significantly aid in your snake plant’s recovery process. By adhering to these care practices, your snake plant should thrive in its new environment, adapting smoothly and continuing to grow healthily.